
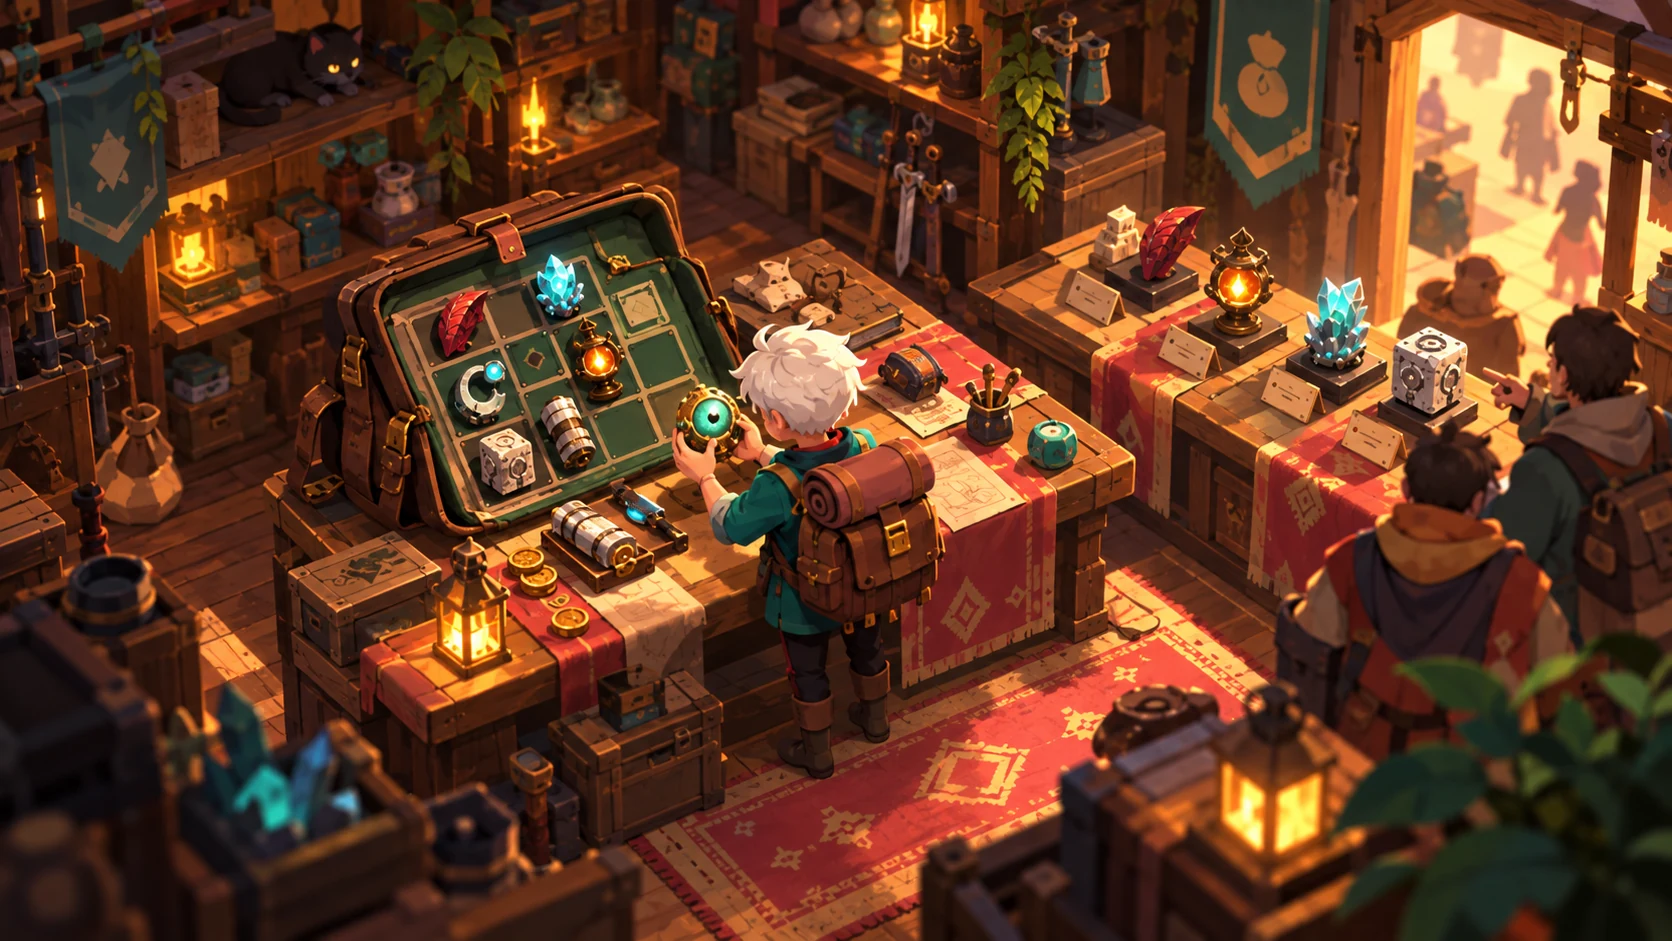
Before you lock a layout, read three things on every relic card: what it points at, what happens to the pointed or adjacent relic (burn, absorb, quality boost, transform), and whether it needs empty space to pay off. Then leave working room — a cramped bag blocks the best effects and the best loot.
Placement is an economy, not decoration
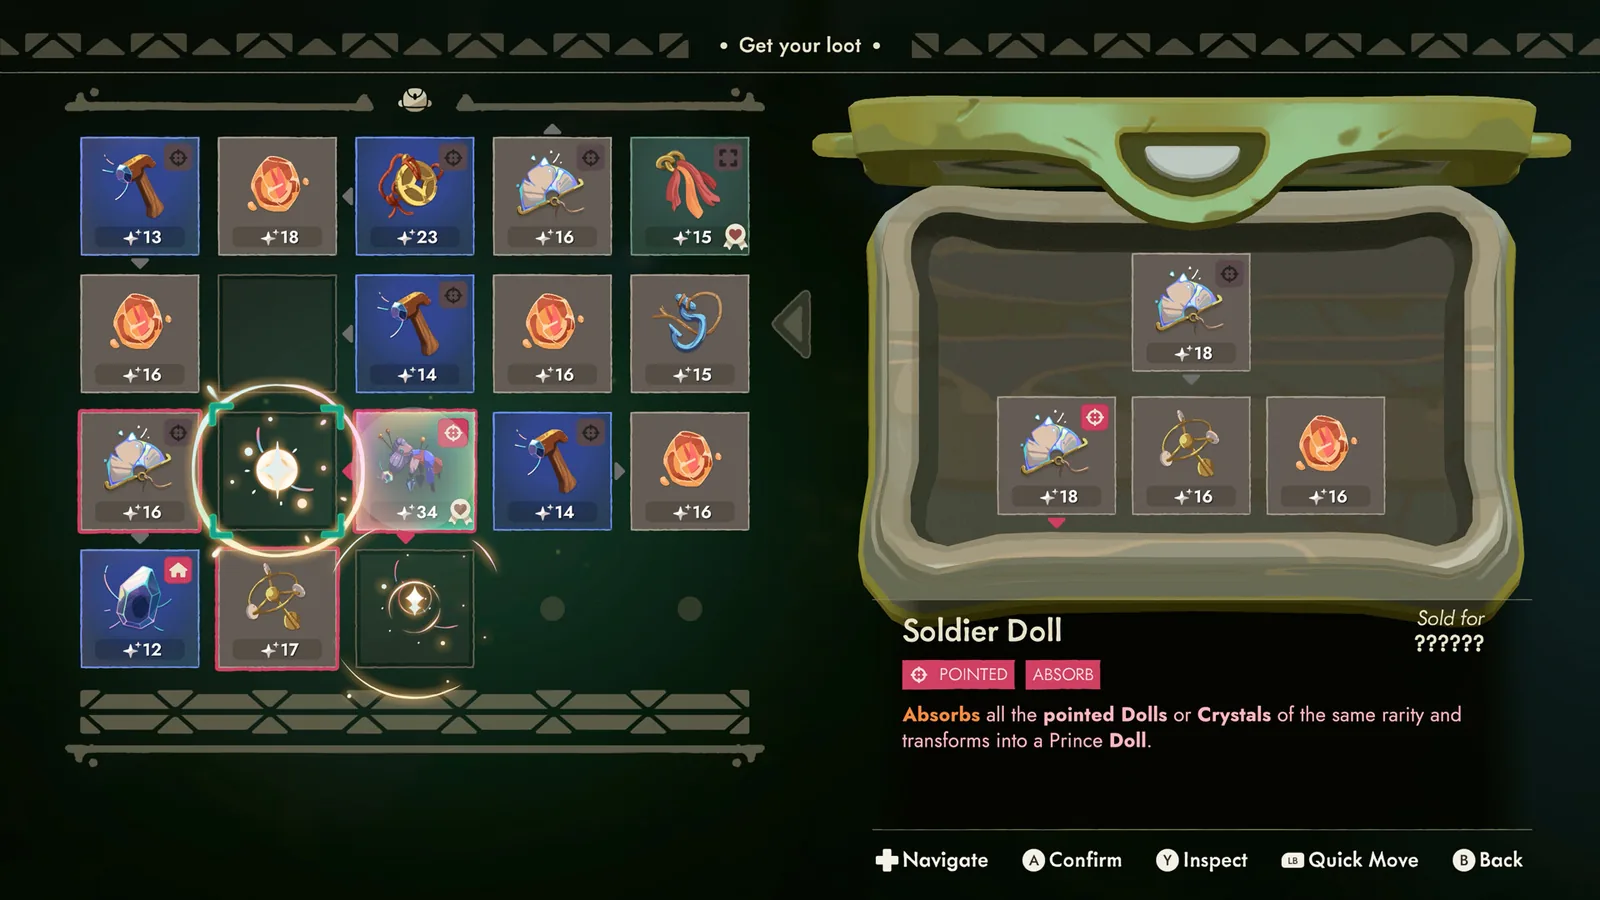
Moonlighter 2 turns the bag into part of the pricing math. Playthroughs repeatedly show relic cards with directional effects: “adds four to the adjacent relics”, “adds two to all adjacent relics”, “eight for each adjacent crystal”, or effects that burn what they point at while boosting something else. Read the direction of the arrows before you accept a relic, because the same item can be a buff or a liability depending on the neighbour it lands next to.
Quality is the currency those effects trade in. The little star icon on each relic is its quality, and in-game text is explicit that the higher the quality, the more the item sells for. Placement effects that add quality are therefore raising your eventual payout, not just a stat.
Read the tags: POINTED and ABSORB
The official loot screen shows how explicit the system has become. A Soldier Doll carries the tags POINTED and ABSORB, and its card says it “absorbs all the pointed Dolls or Crystals of the same rarity and transforms into a Prince Doll”. That is a transformation chain: park the right sacrifices next to it and one better relic comes out. Similar corner effects appear elsewhere — playthroughs show a relic whose corner effect burns common relics while doubling its own quality gains.
- Chain fodder deliberately. Keep cheap commons you actually want to burn or absorb, and keep them reachable next to the relic that eats them.
- Do not lock layouts early. Mid-run pickups change what your best arrangement is; rearrange at every chest.
- Watch crystals. Several effects reference adjacent crystals, so a crystal-heavy bag is a build, not clutter.
Space management: the empty-slot rule
Experienced runners treat free cells as inventory. When a placement effect needs a neighbour, when a doll needs fodder, or when a boss drops a relic worth three slots, empty space is what lets you say yes. A practical target on normal runs is to keep at least a couple of open cells until the exit is close, then fill the last cells with whatever prices best.
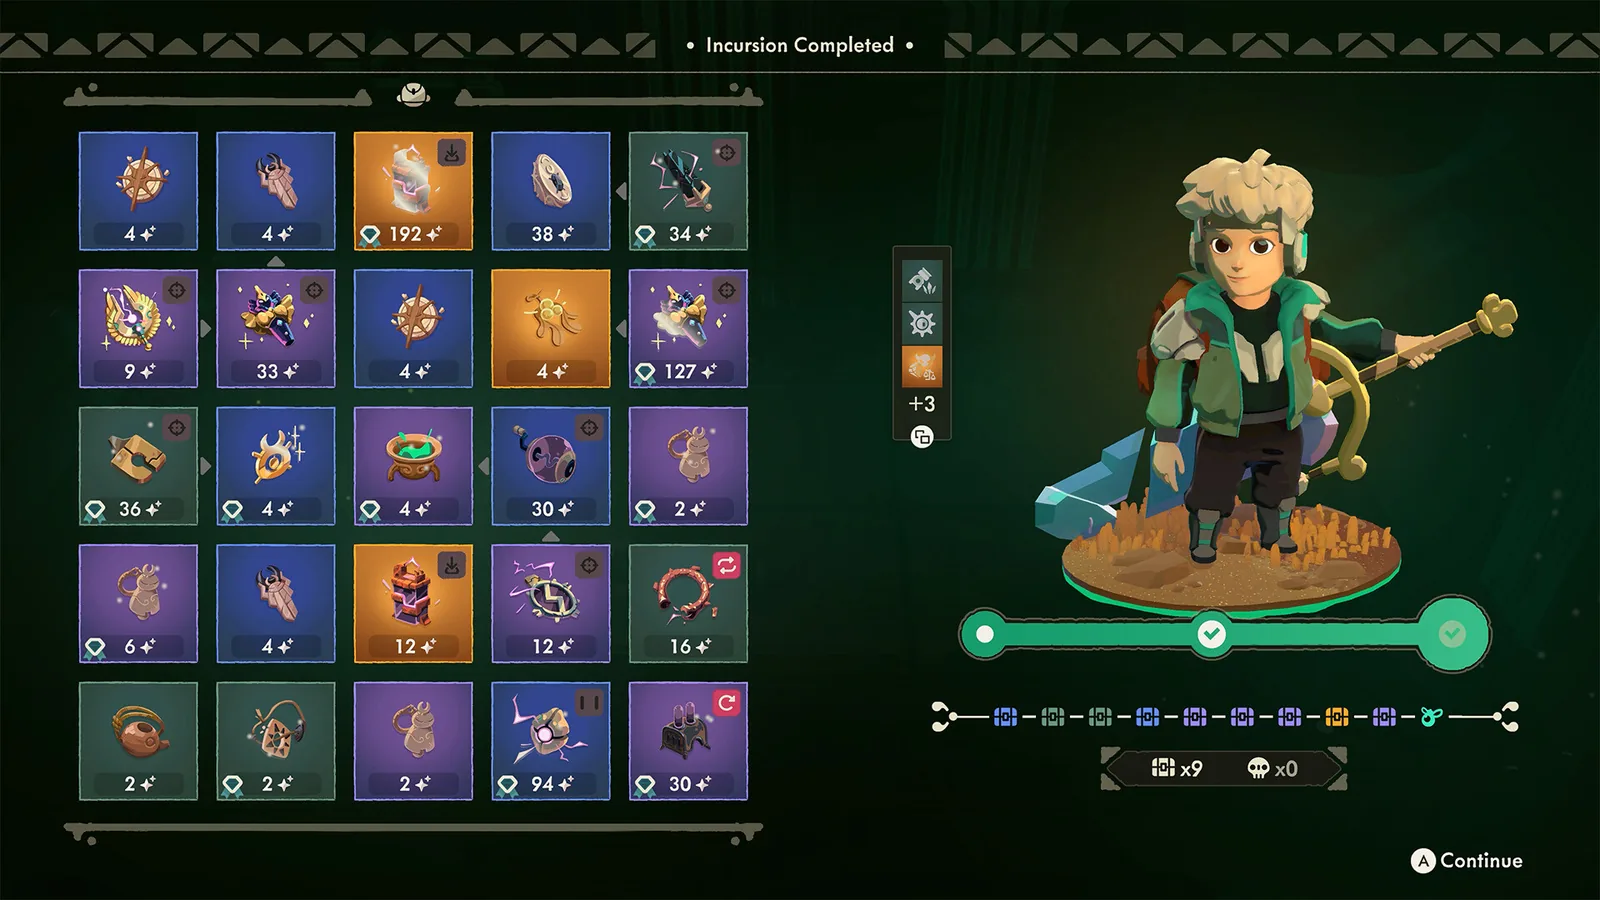
The end-of-run screen closes the loop: it lays out every relic you carried with its quality value before you sell. If your bag forced you to leave a blue-chest relic behind, that is the cost of a cramped layout — and it is avoidable.
Where quality goes next
Placement effects set quality inside the run; the shop then converts quality into gold. For how sticker prices, customer reactions and the tip meter turn a high-quality relic into money, continue with the shopkeeping guide, check a specific item in the relic database, or estimate a quality-adjusted sale in the price calculator.